Because of Sarah London's Crochet a Rainbow project, I have decided to put together a tutorial for a granny square. Check out Sarah's heart warming iniciative and if you always wanted to learn how to crochet, this is the perfect excuse ;)
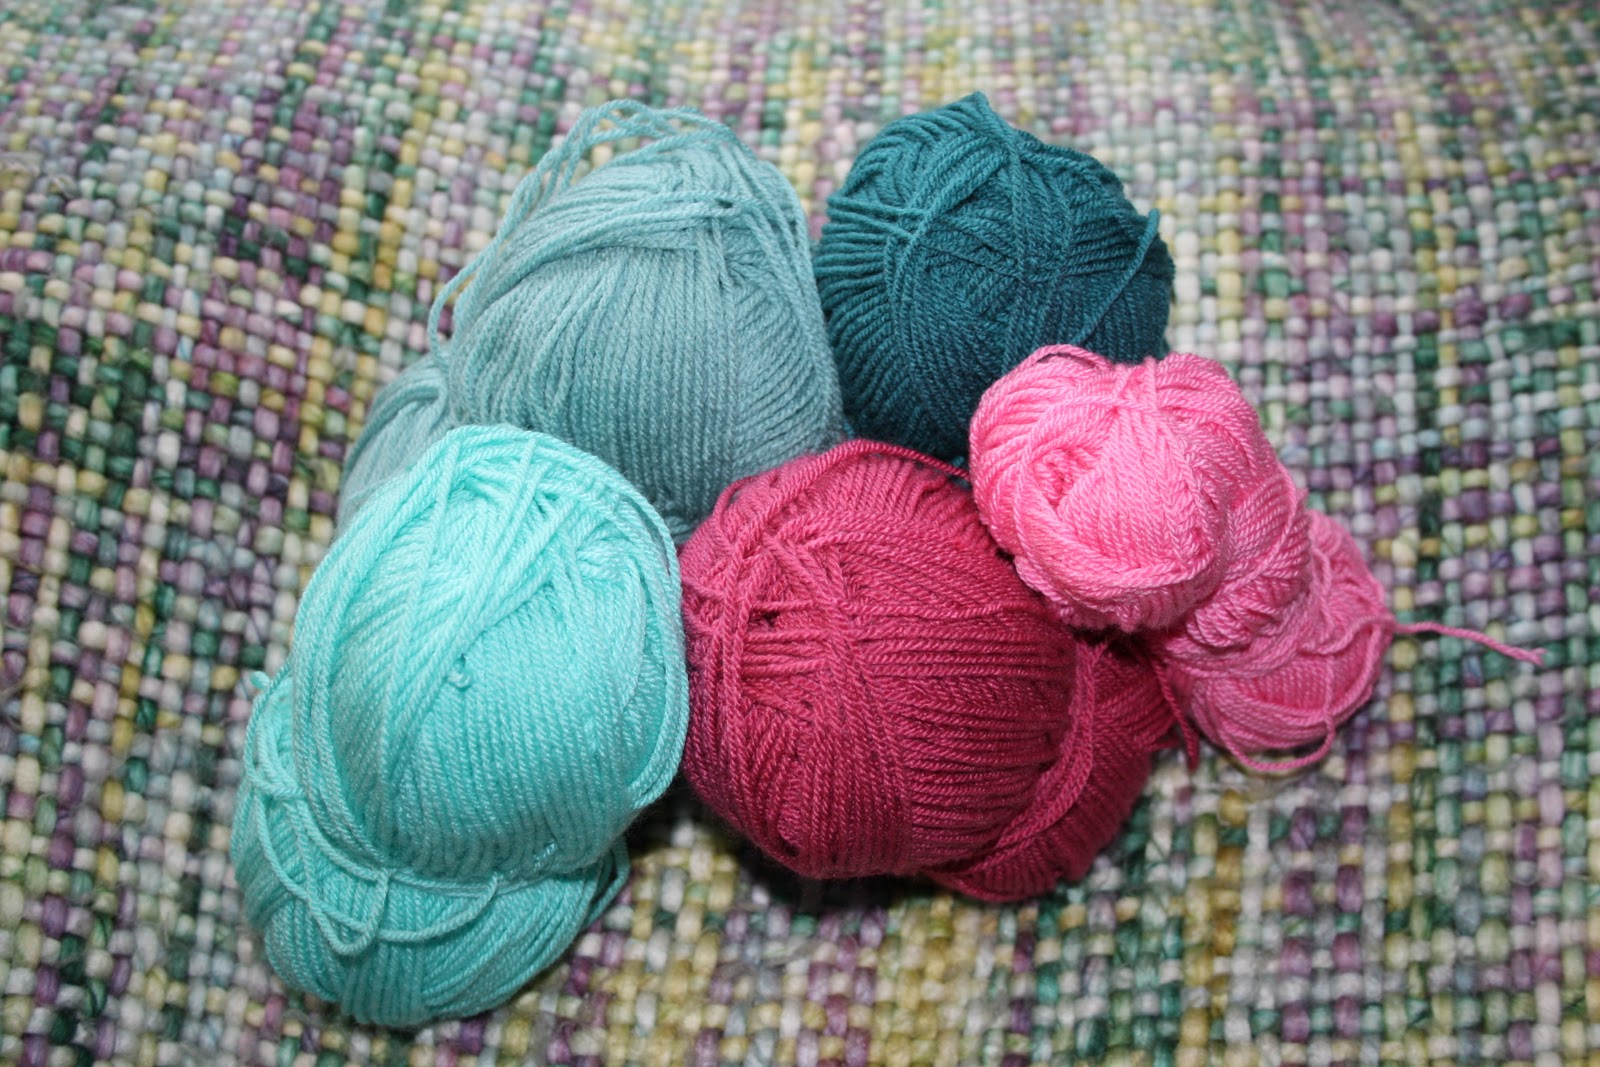
I used 5 different colours of DK weight wool and a size 4mm crochet hook. This size hook and yarn weight is required for the project so that all squares will be the same size.
The Granny-Square is the most traditional and possible the easiest crochet patter. Very quickly you’ll realise how the pattern repeats itself and it’s really easy to count the stitches and to look back and find mistakes straight away.
This pattern is made by chains (ch), slip stitches (slst) and trebles (tr).
I’ll explain how to make those as we go!

To start: Yarn the wool twice around your index finger

Pass over the loop on the left over the one on the right but keep them both on your index finger.
Again pass over the loop on the left over the one on the right but this time over your nail. Now there is only 1 loop on your finger. Put your hook there and tight the knot.

Chain 6 (ch6): Yarn over once, pull trough the loop. Repeat six times.


Join with slip stitch (slst) to form a ring: Insert your hook on the 1st loop of your chain. Yarn over. Pull trough booth loops. Tip: Keep holding your ring with thumb and 2nd finger!


ch3 (counts as 1 tr),

At this point you have to do your 1st treble (tr) and this is how it goes:
Yarn over


 Pull trough (you now have 3 loops on hook)
 Yarn over (4 loops on hook)
 Pull trough just 2 of the 4 loops! (2 loops left on hook)
 Yarn over
 Pull trough the 2 loops left
 Yarn over and do another tr:
 Insert into ring, yarn over and pull trough the ring (3loops on the hook)
 Yarn over
 Pull trough 2 loops, yarn over and pull trough last 2 loops
 Chain 3 (ch3)
Ok, lets recap! Your 1st round went like this: Ch6,slst to make a ring, ch3 (counts as 1 tr), 2tr into the ring, ch3. You just made ch3. You are here!! Deep breath and keep going, it will all make sense, I promise! Now, 3tr into the ring,ch3, repeat yellow twice more, join with slst into top of your first tr (or 3rd chain of your first ch3) (next pic).
 Insert your hook on top of your 1st tr (or 3rd chain of your 1st ch3), under the 2 arms of that loop! (very important). Yarn over, pull trough the 2arms and trough the loop on your hook.
 At the end of this 1st round you should have a cross made of 4 clusters of 3tr each. Each cluster is separate by ch3. Ch3 is the corners of pink round.


Now, do 3slst, one on top of each of your next 2tr and 1slst in the 3ch space (corner). As follow:


This way the end of your yarn will be were your next yarn needs to start and you can just knot them together.
 Ch3 (works as your 1st tr)
 As previous round: [2tr, ch3]
 [ch3, 3tr] still in the same space (corner)
 So in the same space you have [ch3,2tr,ch3,3tr]. Ch3 is the corner for the blue round
 chain 1 and jump to the next space. Crochet in the same space [3tr,3ch,3tr] chain 1. Repeat the same on the the next 2 spaces. Don't forget the ch1 every time you jump.
Slst on top of the first 3tr


 slst also on your 1st ch3 space
 Cut off your yarn
 Join your new yarn
 Hold your 2 ends of yarn (yarn you finished and the one you just started) together with the ch3 corner and crochet over them all so your ends will be hidden.
 ch3 (counts as 1tr)
 [2tr,ch3,3tr] all in the same space and all over your yarn ends
 See how your ends come trough ?
 Cut them off
 Ch1 before jumping to next space. This space is on the side of the square and you don't need to do a corner in here. All side spaces are: ch1,[3tr],ch1
 Jump to the next space and crochet your corner: [3tr,ch3,3tr]
 See the pattern emerging? From here is all repeat, repeat, repeat!


Repeat to crochet your 5th and last round! Wepeeeee!!!


I'll also be posting about how to block your square and other surprises so keep checking and let me know how you getting on!
Lots of Love, Cata***********

What a fabulous tutorial! Your instructions were really clear and the photos made it so much easier to understand. I bet this took alot of your time and I am sure that many people will find it very useful. Thank you so much for sharing your talent.
ReplyDeletefantastic tutorial! even though i know how to crochet,i hav ebookmarked your tutorial ! it will b eso easy to correct myself if i go wrong!! thank you.
ReplyDeletehave a huge ask... can u please do tutorials on those cute purses and the little house/keychain that u made which had japanese patterns ? would be really grateful. thank you.
regards
ramya
I don't have any email for you, my email is mariecozycorner at hotmail dot com, I hope it works for you if not then try missrowley at hotmail dot com post in the subject guest blogger so that I know its from you. Marie
ReplyDeleteI really admire the work you done on this helpful tutorial! Thanks
ReplyDeleteThank you so much for the tutorial . I finished 20 granny squares but they are not 11,5cm (4.5inch).I don't have the right crochet size. I looked for it in many stores without a good result. What sould i do??
ReplyDeleteHello there! Followed your comment from another blog to see your place on the net! Have been caught with this lovely granny! Fabulous colors and great tutorial!
ReplyDeleteMaya
I have just made my first granny square thanks to your tutorial, thank you. Hoping it will be the first of many
ReplyDeleteAwww thank you all! At the moment my poor blog is so neglected as I'm in uni full-time but I miss it so much!... I'll be back to it some day I'm sure! Thanks for visiting! Cata***
DeleteOh this is absolutely brilliant!
ReplyDeleteTheres plenty of good resources out there for the novice crocheter, but none quite like this with such clear step-by-step instructions and tips for each stitch in the context of a project. I've been attempting to teach myself and its so tiresome flicking back and forth between patterns and explanations of the stitches - this has been a breath of fresh air and I've just finished my first square. Thanks!
This tutorial seems very helpful and easy to follow.
ReplyDelete