
Saturday, January 29, 2011
Granny Square Tutorial for beginners!
Because of Sarah London's Crochet a Rainbow project, I have decided to put together a tutorial for a granny square. Check out Sarah's heart warming iniciative and if you always wanted to learn how to crochet, this is the perfect excuse ;)
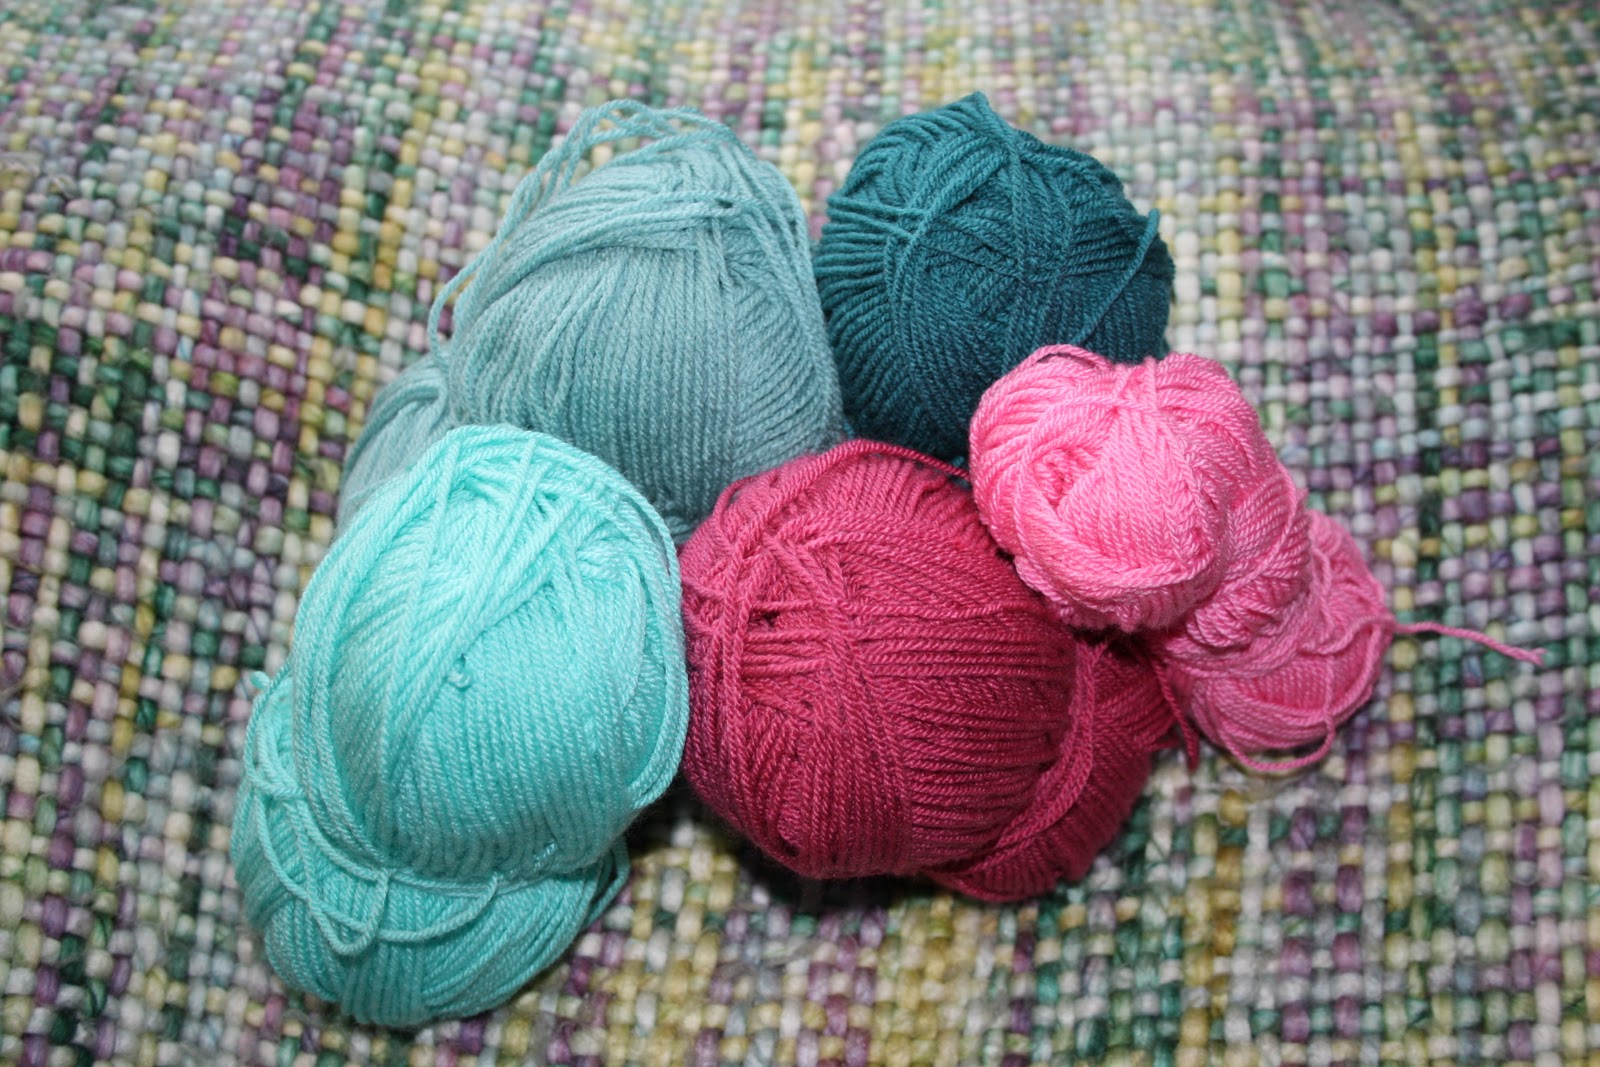
I used 5 different colours of DK weight wool and a size 4mm crochet hook. This size hook and yarn weight is required for the project so that all squares will be the same size.
The Granny-Square is the most traditional and possible the easiest crochet patter. Very quickly you’ll realise how the pattern repeats itself and it’s really easy to count the stitches and to look back and find mistakes straight away.
This pattern is made by chains (ch), slip stitches (slst) and trebles (tr).
I’ll explain how to make those as we go!

To start: Yarn the wool twice around your index finger

Pass over the loop on the left over the one on the right but keep them both on your index finger.
Again pass over the loop on the left over the one on the right but this time over your nail. Now there is only 1 loop on your finger. Put your hook there and tight the knot.

Chain 6 (ch6): Yarn over once, pull trough the loop. Repeat six times.


Join with slip stitch (slst) to form a ring: Insert your hook on the 1st loop of your chain. Yarn over. Pull trough booth loops. Tip: Keep holding your ring with thumb and 2nd finger!


ch3 (counts as 1 tr),

At this point you have to do your 1st treble (tr) and this is how it goes:
Yarn over


 Pull trough (you now have 3 loops on hook)
 Yarn over (4 loops on hook)
 Pull trough just 2 of the 4 loops! (2 loops left on hook)
 Yarn over
 Pull trough the 2 loops left
 Yarn over and do another tr:
 Insert into ring, yarn over and pull trough the ring (3loops on the hook)
 Yarn over
 Pull trough 2 loops, yarn over and pull trough last 2 loops
 Chain 3 (ch3)
Ok, lets recap! Your 1st round went like this: Ch6,slst to make a ring, ch3 (counts as 1 tr), 2tr into the ring, ch3. You just made ch3. You are here!! Deep breath and keep going, it will all make sense, I promise! Now, 3tr into the ring,ch3, repeat yellow twice more, join with slst into top of your first tr (or 3rd chain of your first ch3) (next pic).
 Insert your hook on top of your 1st tr (or 3rd chain of your 1st ch3), under the 2 arms of that loop! (very important). Yarn over, pull trough the 2arms and trough the loop on your hook.
 At the end of this 1st round you should have a cross made of 4 clusters of 3tr each. Each cluster is separate by ch3. Ch3 is the corners of pink round.


Now, do 3slst, one on top of each of your next 2tr and 1slst in the 3ch space (corner). As follow:


This way the end of your yarn will be were your next yarn needs to start and you can just knot them together.
 Ch3 (works as your 1st tr)
 As previous round: [2tr, ch3]
 [ch3, 3tr] still in the same space (corner)
 So in the same space you have [ch3,2tr,ch3,3tr]. Ch3 is the corner for the blue round
 chain 1 and jump to the next space. Crochet in the same space [3tr,3ch,3tr] chain 1. Repeat the same on the the next 2 spaces. Don't forget the ch1 every time you jump.
Slst on top of the first 3tr


 slst also on your 1st ch3 space
 Cut off your yarn
 Join your new yarn
 Hold your 2 ends of yarn (yarn you finished and the one you just started) together with the ch3 corner and crochet over them all so your ends will be hidden.
 ch3 (counts as 1tr)
 [2tr,ch3,3tr] all in the same space and all over your yarn ends
 See how your ends come trough ?
 Cut them off
 Ch1 before jumping to next space. This space is on the side of the square and you don't need to do a corner in here. All side spaces are: ch1,[3tr],ch1
 Jump to the next space and crochet your corner: [3tr,ch3,3tr]
 See the pattern emerging? From here is all repeat, repeat, repeat!


Repeat to crochet your 5th and last round! Wepeeeee!!!


I'll also be posting about how to block your square and other surprises so keep checking and let me know how you getting on!
Lots of Love, Cata***********

Subscribe to:
Posts (Atom)